by
Sunday, April 10, 2011
0
comments
chaos+photography
LaToya Tyson
photography
photography blogs
portrait
surreal
Surreal photography

I am still in a tutorial mode from doing the workshop yesterday, So I will give a breakdown of how I created my surreal self portrait. I am not going to go into detail on how I edited the images in Photoshop, but more so on how I took each image for the composite.

The first thing I did was photograph the broken mannequin head. I originally had another type of table for the surface, but I'm glad I chose the wooden surface. It adds texture and like the mannequin and me-- it's not perfect.
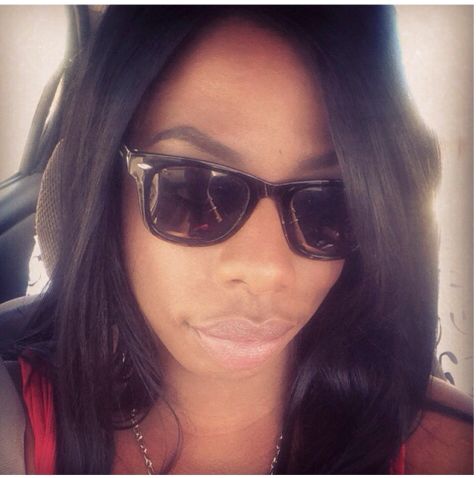
 The next step that I took was to photograph myself for the face of the mannequin. I had my assistant for that day help me with this step. The metal bar in the lower right of the image was a marker to help me know where to align my body so my face would match up with the mannequin head.
 I realized I had to take a second picture of myself to get my lips and the mannequins to match correctly. Since the first image was shot at a different angle, I couldn't use the lips from that portrait because the mannequins lips are laying against the table.
So I had to align my face at the same angle as the table. The bar to the right was my guide to where I should be so the lips would line up.
From there I took these three images and composted them to get the final image. Which I will repost down here to avoid scrolling all the way back up.


.jpg)


0 comments:
Post a Comment